Following this first part of the guide, you’ll create a trivial project for your bRANECell, invoke some of the basic commands, and get a sense of how the brane-builder manages a project.
Creating a New Project in IntelliJ IDEA #
The Brane SDK integrates seamlessly with IntelliJ IDEA, providing a streamlined development experience. Let’s start by creating a new project:
Set up #
In the right-hand pane, IntelliJ IDEA automatically adds a project SDK (JDK) and a default option Java in the Additional Libraries and Frameworks area. You can deselect this option because we will compile C code in this project.

Click Next.
On the next page of the wizard, specify the ArtifactId that is the name of the project e.g. hello-world. You can use the default information in the version field. You don’t need to specify a GroupId unless you plan to deploy our project in some Maven repository.

Click Next.
On the next page of the wizard, you may leave the default options Create separate module per source set and Use default gradle wrapper (recommended) selected. You should also select the Use auto-import option to resolve all the changes made to the project automatically every time you refresh your project.

Click Next.
You already have specified a project’s name so you should not have to modify it here. You can change the location of your project if required.
Click Finish
Your New Project #
IntelliJ IDEA creates a project with the build.gradle file and some assets.
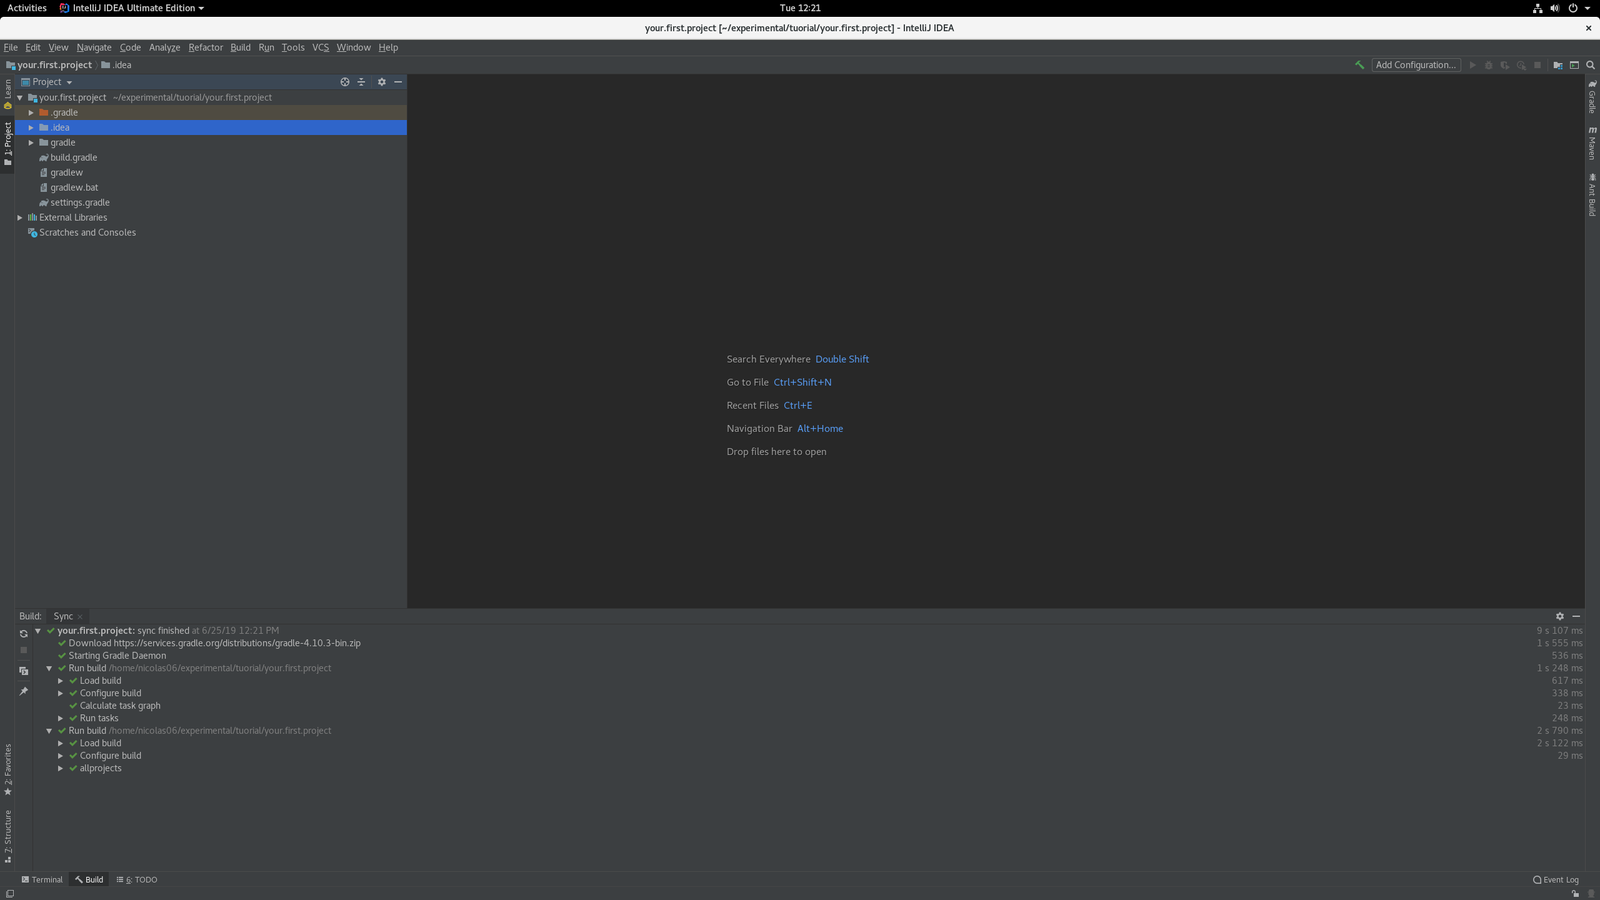
There is no src folder with main and test subdirectories at that point. We will add them with some pieces of software code in the next section.

IntelliJ IDEA also creates a dedicated tool window with default tasks.

You can run one of these tasks e.g. init (right click and run) and see the result on the console view.
5:02:31 PM: Executing task 'init'...

> Task :init SKIPPED
The build file 'build.gradle' already exists. Skipping build initialization.

BUILD SUCCESSFUL in 1s
5:02:33 PM: Task execution finished 'init'.
Write your first application #
There are a few build configuration files and auto-generated files that are a part of the standard project structure. Before you can start configuring your build, you need to add the source code of your own application(s).
Add source folders #
By convention, C projects in Gradle follows a contemporary layout. The brane-builder is composed of plugins for Gradle so we will follow the same layout. If you need to migrate a C project to Gradle you shall also use the same layout or you may configure the build.gradle file to use your own layout.
The executable component is called main. By convention, Gradle will look in src/main/c for source files and non-exported header files. Create these folders in the IntelliJ IDEA.

Add source files #
Let’s add the following C source code to the project.
#include<stdio.h>

int main(void)
{
   printf("Hello World!\n");
   return 0;
}
Create a new file and name it hello.c. Add the source code above and save.

Update build configuration file #
Now, you need to inform Gradle about your source code. To do so, open the build.gradle build configuration file and add the following code.
// Apply the Brane C application plugin
plugins {
    id 'com.brane.cpu.c-application'
}

// Configure the application
application {
    // Target x86_64 Linux architecture
    targetMachines = [
        machines.linux.x86_64
    ]
}
This piece of code in a DSL block informs Gradle about the C code you just added. The executable component is called main. By convention, Gradle will look in src/main/c for source files and non-exported header files. As a reminder, you also need the the build.gradle build configuration file at the top of your project to access the Brane plugins.
/**
 * The buildscript block is where you configure the repositories and
 * dependencies for Gradle itself—meaning, you should not include dependencies
 * for your modules here. For example, this block includes the Brane plugins for
 * Gradle as a dependency because it provides the additional instructions Gradle
 * needs to build modules for a bRANECell.
 */

buildscript {

    /**
     * The repositories block configures the repositories Gradle uses to
     * search or download the dependencies. Gradle pre-configures support for remote
     * repositories such as JCenter, Maven Central, and Ivy. You can also use local
     * repositories or define your own remote repositories. The code below defines
     * the Brane Repo as the repository Gradle should use to look for its dependencies.
     *
     */

    repositories {
        maven {
            url "s3://com.brane.repository.maven/release/"
            credentials(AwsCredentials) {
                accessKey = System.env.AWS_ACCESS_KEY_ID ?: findProperty('aws_access_key_id')
                secretKey = System.env.AWS_SECRET_ACCESS_KEY ?: findProperty('aws_secret_access_key')
            }
        }
        // Public repositories for additional dependencies
        mavenCentral()
        mavenLocal()
    }

    /**
     * The dependencies block configures the dependencies Gradle needs to use
     * to build your project. The following line adds the Brane plugins for Gradle
     * version 0.4.0 as a classpath dependency.
     */

    dependencies {
        // Brane-Builder plugin - core of the SDK - CPU only for this tutorial - Uncomment for HIP, and others.
        classpath 'com.brane.plugins:cpu:2.2.1'
        // classpath 'com.brane.plugins:hip:2.2.1'
        // classpath 'com.brane.plugins:mppa:2.2.1'
        // classpath 'com.brane.plugins:fpga:2.2.1'
        // Apache Velocity for template processing
        classpath 'org.apache.velocity:velocity:1.7'
        // Add any additional build-time dependencies here
    }
}


/**
 * The allprojects block is where you configure the repositories and
 * dependencies used by all modules in your project, such as third-party plugins
 * or libraries. However, you should configure module-specific dependencies in
 * each module-level build.gradle file. ).
 */

// Common configurations that apply to all projects
allprojects {
    repositories {
        mavenCentral()
    }
}
Compile your Project and Run your application #
With the project configured, you can now build your application.
Building from IntelliJ IDEA #
- Open the Gradle tool window (usually on the right side of the IDE)
- Navigate to your project > Tasks > build
- Double-click on the
assembletask

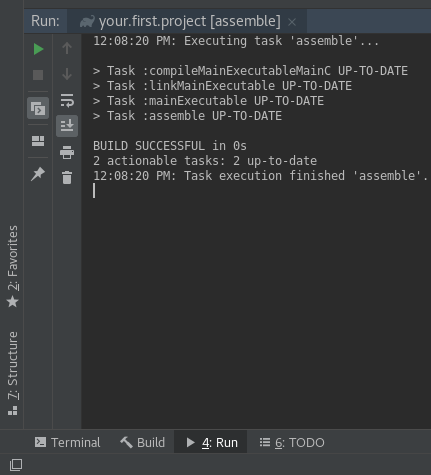
You should get a result similar to the one below.
5:51:12 PM: Executing task 'assemble'...

> Task :compileMainExecutableMainC
> Task :linkMainExecutable
> Task :mainExecutable
> Task :assemble

BUILD SUCCESSFUL in 0s
2 actionable tasks: 2 executed
5:51:12 PM: Task execution finished 'assemble'.
Running Your Application #
You can run this application on your computer. To do so, go to build/exe/main, right click on main and select Open in a Terminal. Type ./main in the new terminal and you should get something similar to the result below.
$ ./main
Hello World!

You should follow the same pattern every time you start developing a new project for a bRANECell. Alternatively, you can copy/pate existing projects or download projects from our open source repository. In the next section, you will use the brane-builder to compile your project for the computing units of a bRANECell.


